How a Security Camera Layout Tool Saves Time and Prevents Costly Mistakes
Every installer I know has a story about a job that went sideways because the camera placement looked right on paper but failed in the field. Maybe the lens didn't cover the entry point they needed. Maybe the cable run turned out to be thirty feet longer than expected, and the PoE switch didn't have enough budget for the distance. These are the kinds of problems that a good planning phase can catch, and that is exactly where a security camera layout tool makes the difference between a smooth install and a callback.
I spent years walking jobsites with a clipboard and a tape measure, sketching camera positions by hand, and hoping my estimates for field of view were close enough. Sometimes they were. Other times I ended up moving a camera twice because the mounting height I picked created a blind spot right where the client needed coverage. The tools available now are much better, and they do not require a CAD license or a degree in video surveillance design. A browser-based planning application like CCTVplanner gives you a practical way to work through the details before you ever climb a ladder.
Why Guessing on Camera Placement Costs You Money
Most security system failures are not equipment failures. They are placement failures. An IP camera with 4K resolution still cannot see through a wall, and an analog camera with a wide lens still cannot cover a parking lot if it is mounted too low. The difference between a system that works and one that does not often comes down to the geometry of the installation. That geometry depends on several variables: the camera's sensor size, the focal length of the lens, the mounting height, the angle of the camera, and the distance to the area you need to monitor.
Change any one of those variables and the coverage map shifts. A security camera layout tool lets you adjust those variables in a visual environment so you can see the result before you drill the first hole. I have used this approach on a warehouse job where the client wanted to cover an entire aisle with a single camera. My first guess was a 2.8mm lens mounted at twelve feet. When I plugged the numbers into the layout tool, the field of view was wide enough but the pixel density at the far end of the aisle was too low to read a license plate. I switched to a 4mm lens and added a second camera. That change cost nothing but time in the planning phase. Doing it after the cable was run would have meant patching drywall and ordering new hardware.
What a Good Layout Tool Should Handle
A serious planning tool for CCTV does more than draw circles on a floor plan. It should account for the real physics of optics and the practical limits of cabling. Here are the core features I look for:
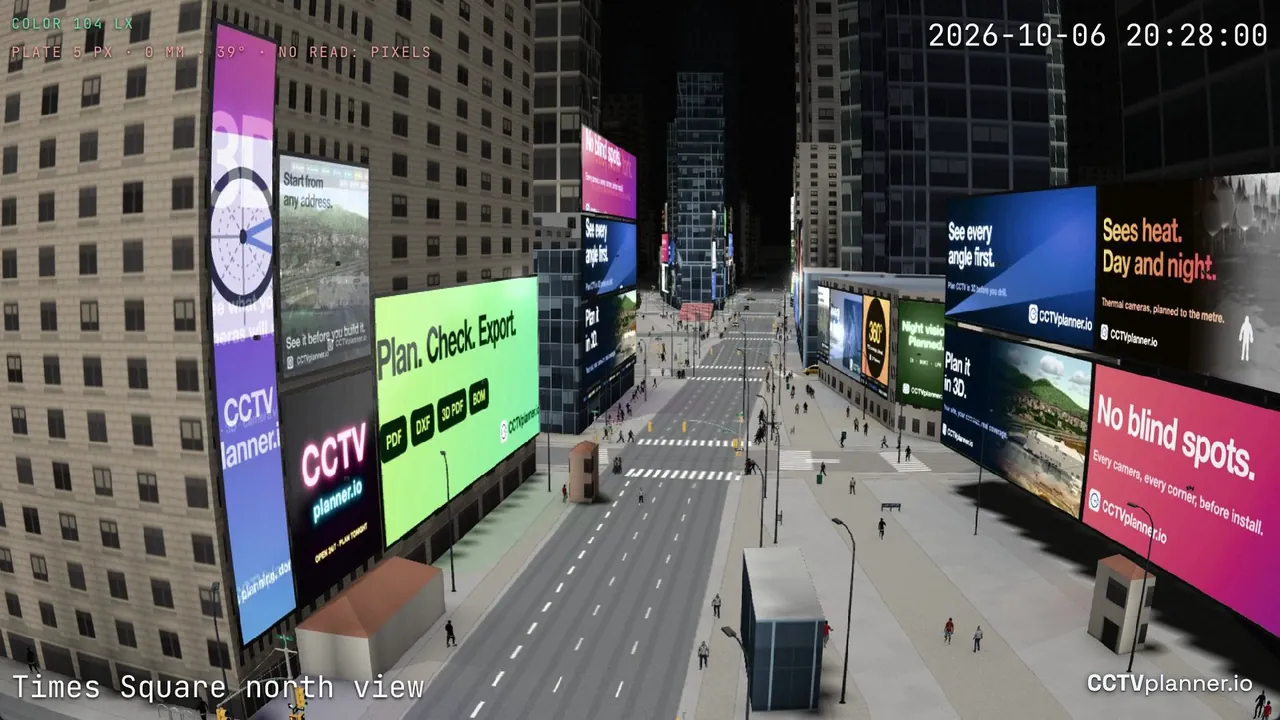
- A lens calculator that matches the camera's sensor size to the desired field of view, so you can see how far a given camera can see at different resolutions.
- The ability to set mounting height and camera angle, then generate a coverage map that shows the actual area visible on the ground.
- Support for both IP cameras and analog cameras, because not every job requires a full NVR system and sometimes a DVR and coax is the right fit.
- Cable run estimation that factors in vertical rise and horizontal distance, so you can size your PoE switch and cable spools correctly.
- Export options like CAD export and a quote generator, so the same plan that guides your install can also produce a professional proposal for the client.
When I evaluate a security camera layout tool, I also check whether it includes common camera brands in its database. Hikvision, Dahua, Axis Communications, Uniview, and Bosch Security all have slightly different lens options and sensor sizes. If the tool lets you select the exact model you plan to use, the field of view prediction will be much more accurate than a generic preset.
The Site Survey Still Matters, But the Tool Makes It Useful
No software replaces walking the site. You still need to measure the actual distances, note the lighting conditions, and check for obstructions that might not show up on a blueprint. But once you have those measurements, a layout tool helps you make sense of them. I remember a school retrofit where the architect's drawing showed a clean rectangular hallway. On site, there was a support column right in the middle of the corridor that the drawing had omitted. Without the tool, I might have placed a camera that covered half the hallway on either side of the column but left a blind spot behind it. With the tool, I could move the camera position on the digital floor plan, adjust the mounting height, and confirm that the field of view covered the entire corridor despite the column.
That kind of iterative adjustment is the real value of planning software. You can test ten different camera positions in the time it would take to walk to one ladder position and back. The tool does not eliminate the need for judgment, but it gives you better data to base that judgment on.
Matching the Tool to the Project Scale
A small office with four cameras does not need the same level of planning as a distribution center with forty. But even on small jobs, a layout tool can prevent obvious mistakes. I once saw an installer mount a dome camera at eight feet in a lobby with a nine-foot ceiling. The camera's field of view was almost entirely unusable because the angle was too steep. A quick check in a planning tool would have shown that the camera needed to be at ten feet minimum, or the lens needed to be changed.
On larger projects, the tool becomes essential for coordinating with other trades. If you know the exact cable run for every camera, you can tell the electrician where to leave pull strings. If you have a CAD export of your coverage map, the architect can verify that the camera positions do not conflict with sprinkler heads or light fixtures. Those exports also make it easier to generate a quote that the client can understand, because you can show them a visual representation of what each camera covers.
Practical Workflow for Using a Layout Tool
Here is the workflow I have settled on after using a security camera layout tool for several years. It works for both new construction and retrofits:
- Start with a site survey. Measure the dimensions of each room or area. Note the ceiling height, any columns or partitions, and the location of power outlets.
- Import the floor plan into the tool or draw it from scratch. Mark the areas that need coverage: entry points, cash registers, server rooms, parking lots.
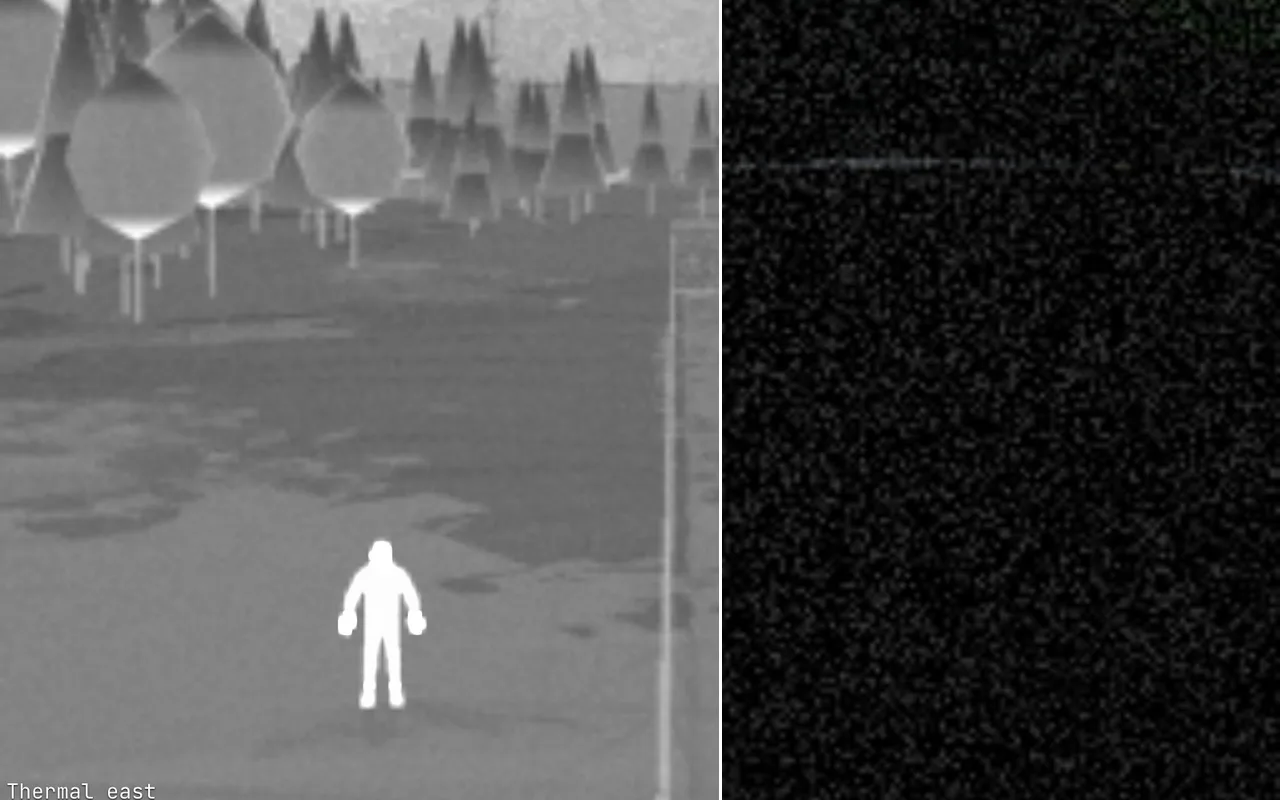
- Place cameras at the mounting heights you intend to use. Adjust the lens and angle until the coverage map shows the area you need. Check the pixel density for tasks like reading a license plate or identifying a face.
- Run the cable estimates. Make sure the distance from each camera to the PoE switch or DVR is within the Ethernet limit for IP cameras, or within the coax limit for analog cameras. If it is too far, plan for a midspan switch or a different camera location.
- Generate a quote and a CAD export for the client. The quote should list each camera model, the mounting height, and the lens choice. The CAD export gives the installation team a clear set of positions to follow.
Following that workflow on a recent retail job saved me from a costly mistake. The store had a mezzanine office that needed coverage, and my initial plan put the camera on the mezzanine wall. When I checked the coverage map in the tool, I realized the camera's field of view was blocked by a railing that was not obvious from the floor. I moved the camera to the ceiling of the main retail floor and aimed it upward. The fix took two minutes in the software and saved a full day of rework on site.
What to Look for in the Tool Itself
Not all layout tools are equal. Some are built for marketing purposes and give you pretty but inaccurate visualizations. Others are genuinely useful for planning. I look for tools that include a lens calculator that accounts for different sensor sizes. A 5MP camera with a 1/2.8" sensor has a different field of view than a 5MP camera with a 1/1.8" sensor, even at the same focal length. If the tool treats all 5MP cameras the same, the coverage map will be wrong.
I also want the tool to handle both IP and analog systems. Many smaller installations still use analog cameras with a DVR, and the cabling requirements are different. An analog camera can run on RG59 coax for longer distances than an IP camera can run on Cat6 without a repeater. That difference matters when you are planning cable runs for a large property.
Brand support is another consideration. If you regularly install Hikvision or Dahua equipment, the tool should have those models in its library. If you work with Axis Communications or Bosch Security, the same applies. Having the exact model in the database means the field of view prediction will be based on the actual lens and sensor specs, not a generic approximation.
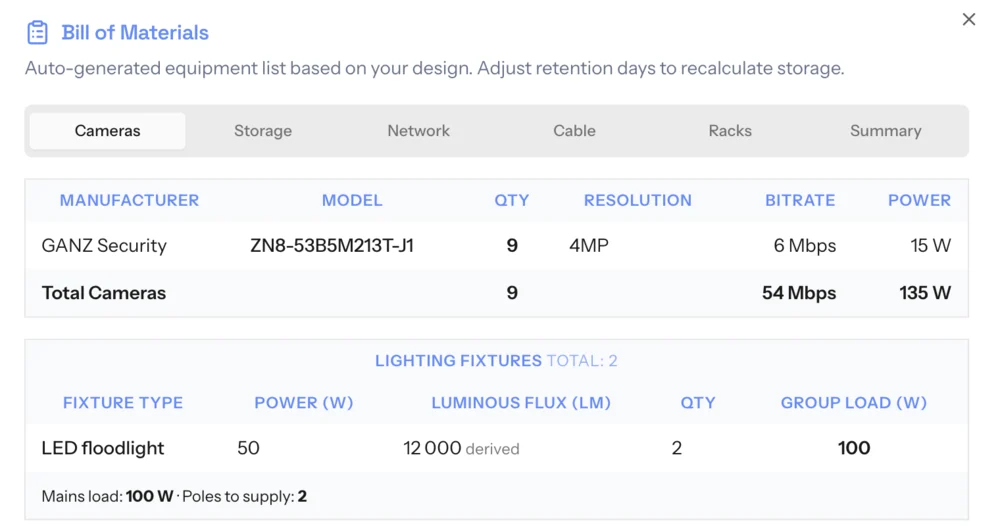
Finally, the tool should produce deliverables that your client and your installation team can use. A quote generator that lists every camera, lens, and mounting height makes the proposal look professional. A CAD export lets the electrician or the general contractor incorporate your plan into the overall building layout without redrawing everything.
A good planning tool is not a shortcut. It is a way to apply your experience more efficiently. The time you spend adjusting camera positions in the software is time you do not spend moving them on the wall. And on a job where the margin is tight, avoiding one callback can be the difference between a profitable project and a loss.